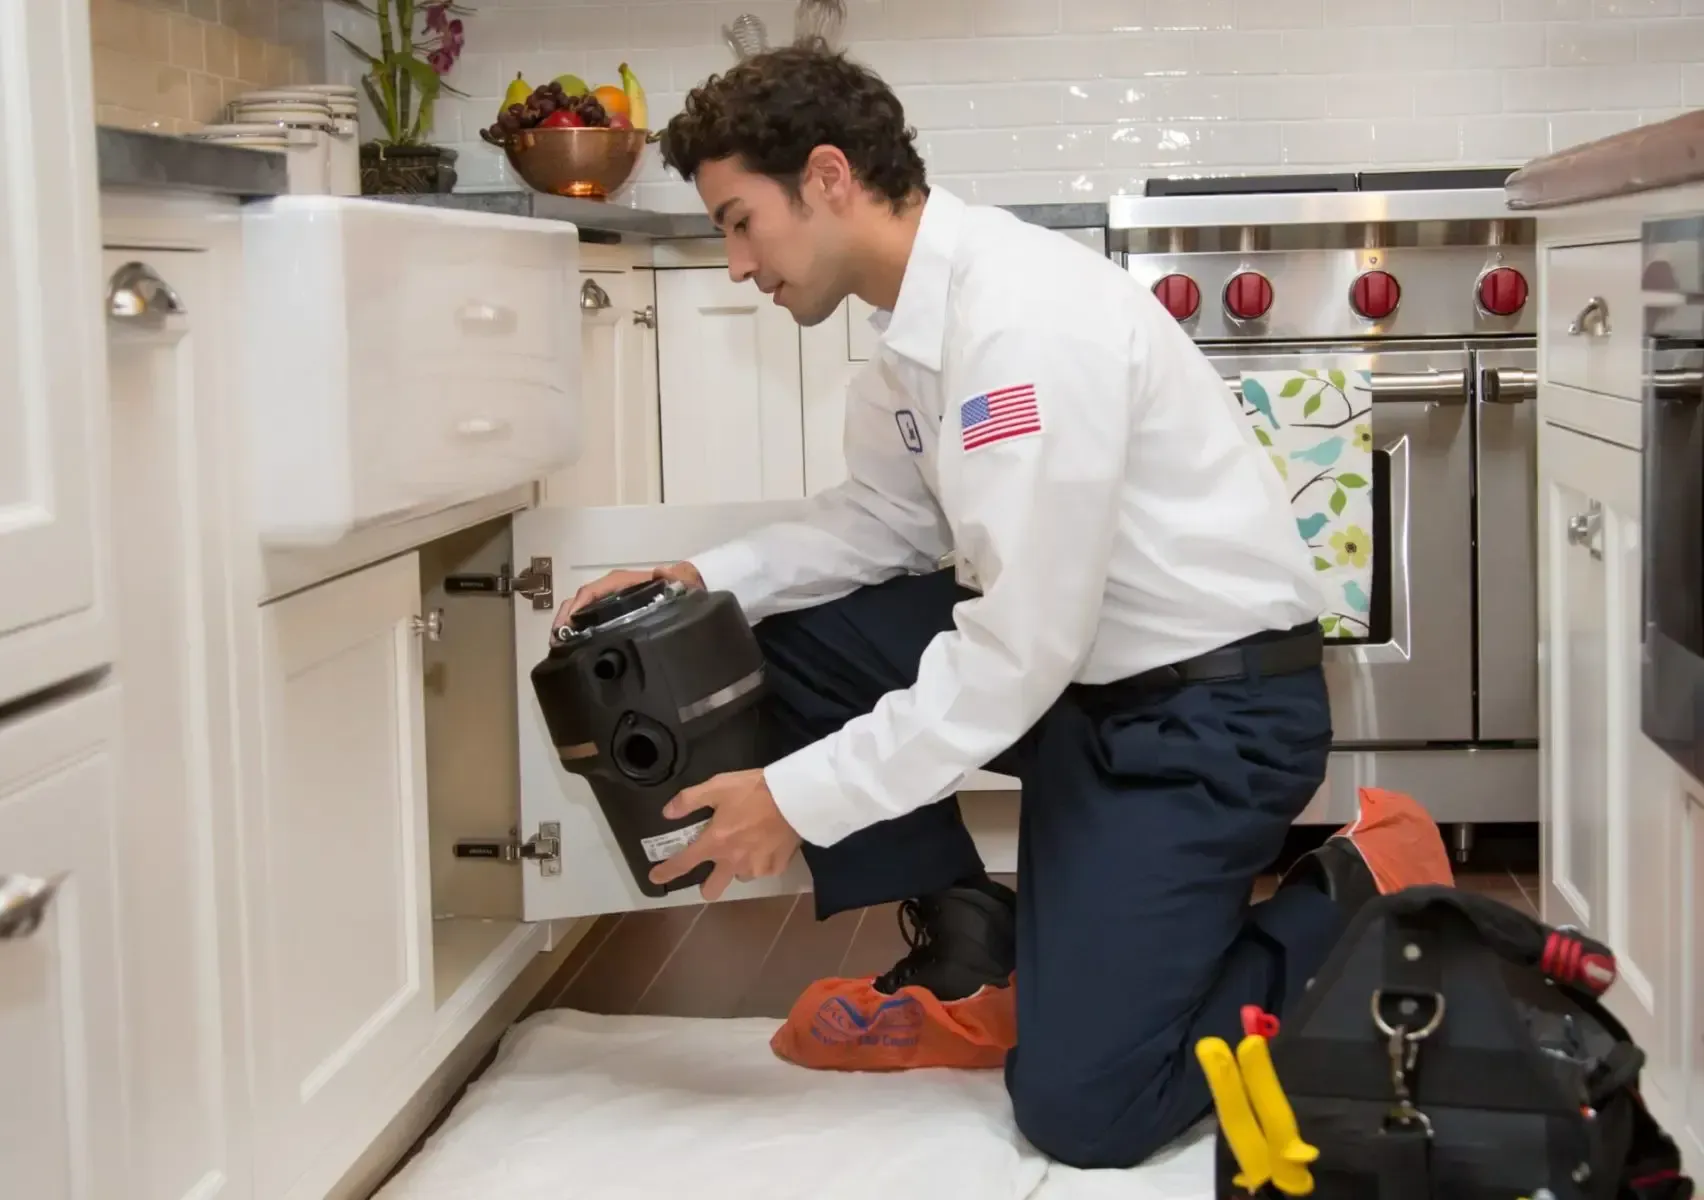
Whenever we come into a house to do maintenance on washers and dryers, we love to work in a clean laundry room. In addition to just us, we find that many of our customers are much more relaxed when their laundry rooms are organized. Therefore,
Fix Appliance Repair is giving you our 7 Steps To Organize Your Laundry Room….to motivate you to get your laundry room organized, now.
Because the laundry room is an area so often used and so often not clean, this is one of the most rewarding challenges we can give you. We highly encouraging you to clean and organize your laundry room as soon as humanly possible. Whether or not you need help with your appliances, having this heavily trafficked area in order will do wonders to your personal tranquility. Purge as much as you can this week and enjoy your laundry room once again.
This week, clean your laundry room from top to bottom, finish all of the laundry, and organize the space for functionality. If you don’t have a laundry room, clean out the area where you keep your laundry supplies. To begin the process and in order to be fully organized, everything should be emptied out of the space, so you can see it clearly and start fresh. Its time to clear the clutter.
Here Are Your 7 Steps To Organize Your Laundry Room
1. EMPTY
: Empty out the ENTIRE laundry room. Everything but the washer & dryer must go. Get it all out and into another room and start with an empty canvas.
2. PURGE
: Purge anything that doesn’t belong. Toss empty detergent bottles, trash, donate unwanted or un-needed items and put things away.
3. CLEAN
: Pull out the washer/dryer and vacuum behind it. Clean out the dryer vent. Wipe down the outside of the washer and dryer. Clean out the washer. Pour 1 cup of bleach into the drum, then run a full wash cycle on the hottest setting (empty). Wipe down all shelving, walls, baseboards, doors, switch plates & dust the light.
4. ORGANIZE
: After the laundry room is clean, it’s time to put everything away. Organize your laundry supplies, using bins, baskets, etc. Keep in mind, if you haven’t used something in the last 12 months, purge it. Don’t put it back in the laundry room. Label each container. Examples below…
- Laundry soap
- Stain remover tools
- Cleaning cloths
- Pet items
- Cleaners
- Trash Bags
- Mopping Pads
- Cleaning Tools
- Dryer Sheets
- Paper Towels
- Vacuum Bags
- Sewing Misc.
5. LAUNDRY
: Wash, dry, fold & put away all laundry. Finish every load!
6. CLEANING CADDY
: Put together a cleaning caddy. Place all necessary household cleaners in it.
7. DECORATE
: Finally, you can decorate your laundry room to make it more inviting.
That’s it!
If you follow these simple 7 steps, you can proactively clear the clutter from your laundry room this week and begin to utilize it again in a completely relaxed setting. Remember, hold yourself accountable and finish! We can’t wait to see what you accomplish.
Good luck….and happy organizing!


