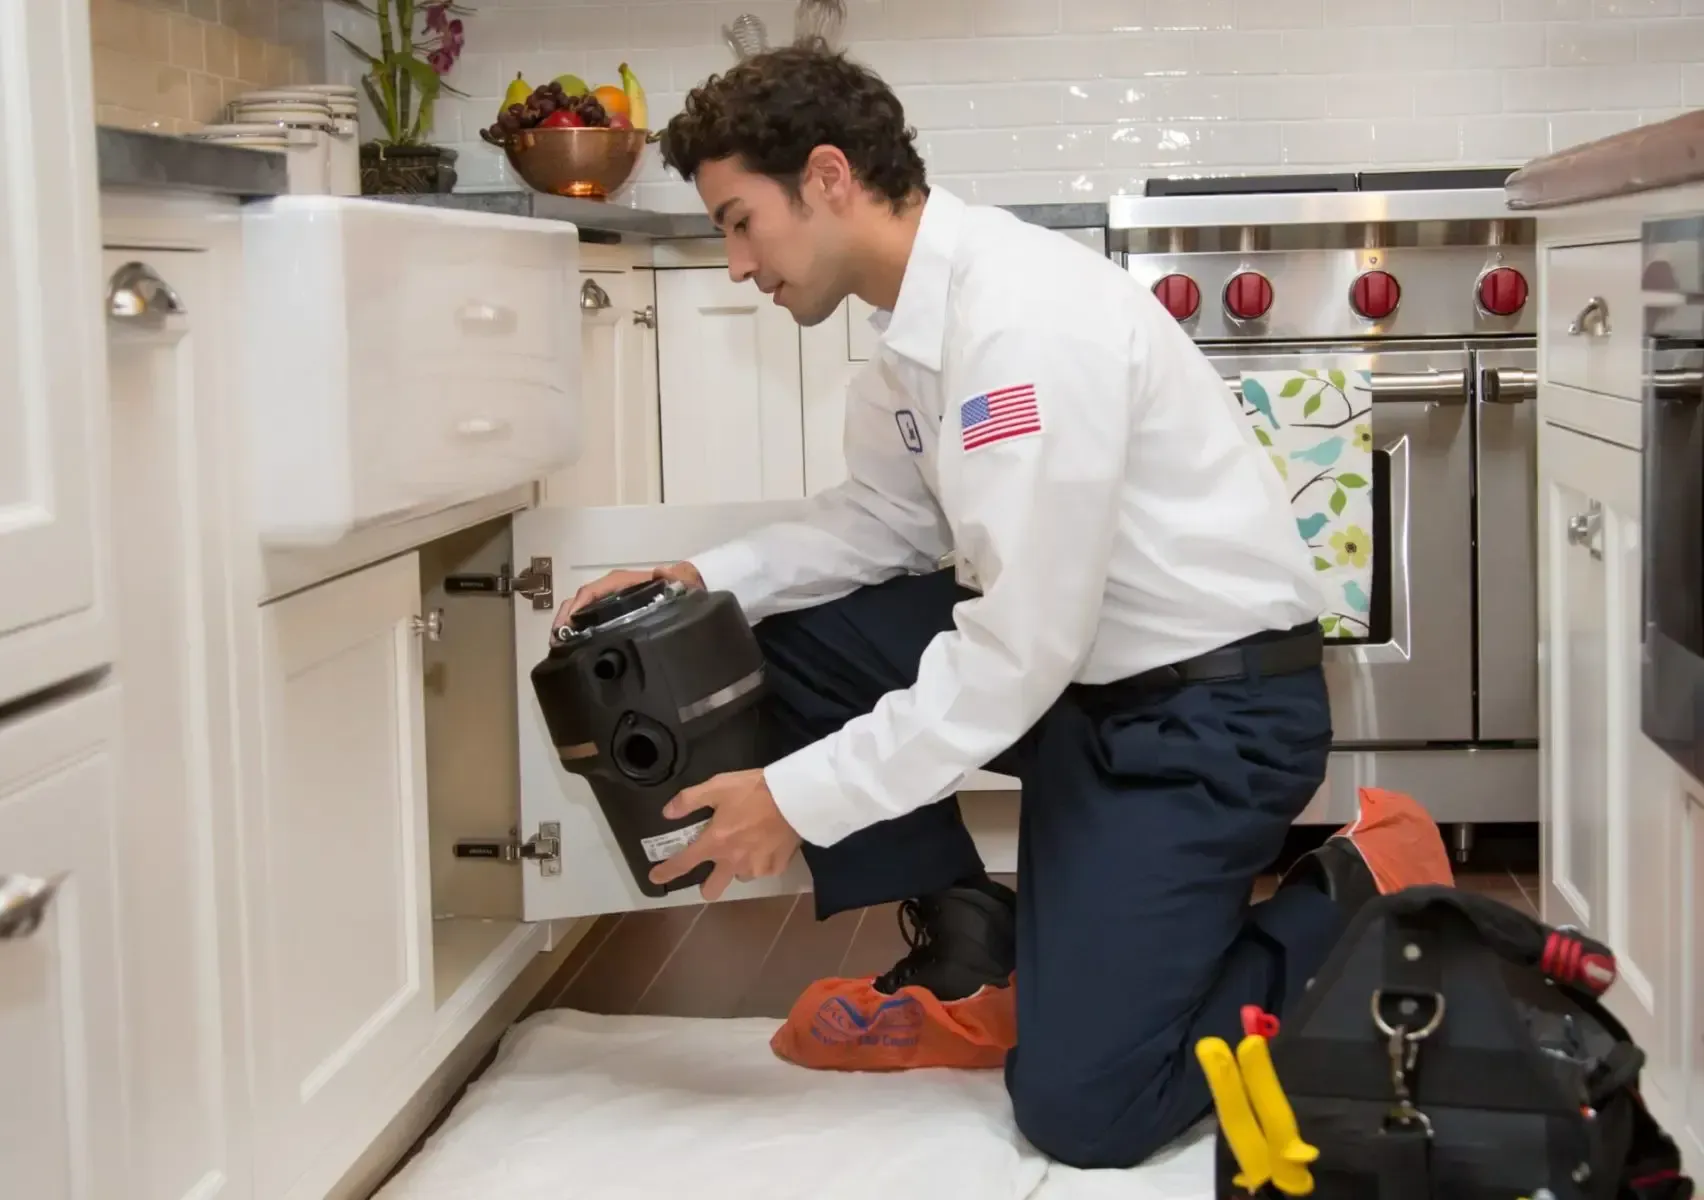

An oven's malfunction may seriously disrupt your culinary preparations as they are the foundation of every kitchen. Whirlpool has become a household name in home appliances among the many manufacturers that are available. But after time, problems can arise with even the most dependable appliances. Knowing how to diagnose and fix your Whirlpool oven when it acts up might help you avoid wasting time, money, or aggravation.
This thorough guide will cover typical issues with Whirlpool ovens, as well as troubleshooting methods and detailed repair procedures. This post will provide you the skills necessary to handle Whirlpool oven repairs like an expert, regardless of the issues you're having with inconsistent temperature, broken heating elements, or broken controls.
Common Problems:
- Temperature Inconsistencies:
- One of the most frequent complaints with ovens is temperature discrepancies. You may find that your Whirlpool oven is not heating evenly or is running too hot or too cold.
- Causes: A faulty temperature sensor, damaged heating elements, or issues with the oven's control board can all contribute to temperature irregularities.
- Troubleshooting: Use an oven thermometer to gauge the actual temperature inside the oven. If there's a significant variance, you may need to recalibrate the temperature settings or replace faulty components.
- Faulty Heating Elements:
- Heating elements are essential for generating the heat needed to cook food evenly. If your oven isn't heating up at all or if it's only partially heating, the heating elements could be to blame.
- Causes: Heating elements can wear out over time due to regular use or suffer damage from spills or buildup.
- Troubleshooting: Visually inspect the heating elements for signs of damage such as cracks or breaks. Use a multimeter to test for continuity, and if the reading is outside the normal range, replace the faulty element.
- Oven Door Issues:
- A malfunctioning oven door can compromise cooking efficiency and safety. Problems such as a door that won't close properly or doesn't seal tightly can lead to heat loss and uneven cooking.
- Causes: Misaligned hinges, worn-out door gaskets, or damaged door springs can all contribute to door issues.
- Troubleshooting: Inspect the hinges, gaskets, and springs for any signs of damage or wear. Adjust or replace components as necessary to ensure a snug and secure fit.
- Control Panel Malfunctions:
- Your oven's control panel is its command center, where you may adjust cooking modes, temperatures, and timers. Your oven may become useless or behave erratically if the control panel fails.
- Causes: Electrical failures, moisture ingress, or physical damage can disrupt the functioning of the control panel.
- Troubleshooting: Reset the oven by unplugging it for a few minutes and then plugging it back in. If the issue persists, inspect the control panel for visible damage or loose connections. Consider replacing the control board if other troubleshooting methods fail.
Step-by-Step Instructions:
- Temperature Sensor Replacement:
- Turn off the circuit breaker or disconnect the oven to cut off the electricity.
- Usually located on the oven cavity's rear wall, find the temperature sensor.
- Gently extract the sensor by unscrewing the screws holding it in place.
- Remove the sensor's wires from their attachment.
- Connect the cables to the new sensor and fasten it with screws to complete the installation.
- Check the correctness of the temperature and turn the oven back on.
- Heating Element Replacement:
- Make sure the oven is unplugged from the electricity.
- Take off any coverings or panels, together with the oven racks, to have access to the heating elements.
- Once the defective heating element has been located, remove it from the wire harness.
- Linking the new heating element to the electrical harness will allow for installation.
- After replacing any panels or coverings, slide the oven racks back in.
- Check the oven's heating performance after reconnecting the electricity.
- Door Gasket Replacement:
- Locate the gasket around the outside edge of the oven compartment after opening the door.
- With caution to avoid damaging the mounting clips, carefully peel out the old gasket.
- Make sure the mounting surface is clean to allow the new gasket to adhere properly.
- Once the new gasket is lined up with the mounting clips, push it into position.
- To facilitate the gasket's compression and formation of a tight seal, close the oven door.
- Control Panel Replacement:
- Turn off the oven's electricity.
- Take off any bolts or screws holding the control panel in place.
- The wire harnesses should be carefully disconnected from the control panel.
- Reconnect the electrical harnesses and fasten the new control panel with screws to complete the installation.
- Check the functionality of the control panel and turn the oven back on.
Ensuring Longevity
It's true that a broken oven can ruin your cooking and daily routine, but it doesn't have to be a permanent problem. You may save time and money by solving and fixing many common problems on your own, provided you have the necessary knowledge and equipment. Ovens from Whirlpool, which are well-known for their dependability and efficiency, are no different.
You can make sure that your Whirlpool oven keeps functioning properly for many years to come by being familiar with typical issues and according to step-by-step repair instructions. Always put safety first, and unplug the power before doing any repairs. Don't be afraid to ask a skilled technician for help if you run into any questions or find that the problem is more complicated than you can handle.
You can easily repair your Whirlpool oven and get your kitchen back up and running if you have the necessary tenacity and patience. Acquiring these repair abilities will not only save you money, but you'll also feel good about keeping your appliances maintained and extended in life. Now put on your work gloves, get your equipment, and set off to become an expert Whirlpool oven repairman.